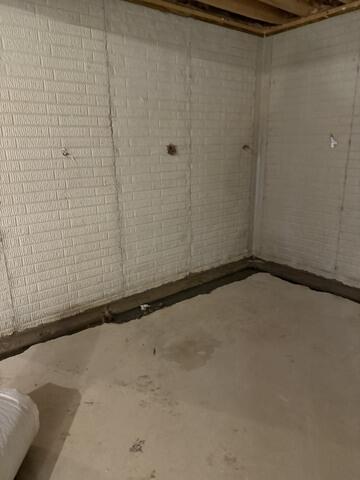
Before
Water was leaking from the walls and floors of this basement. They needed a wall to floor covering and drainage system to prevent water damage.
Installing WaterGuard
Installers dig up a section of the perimeter in order to install WaterGuard along the perimeter.
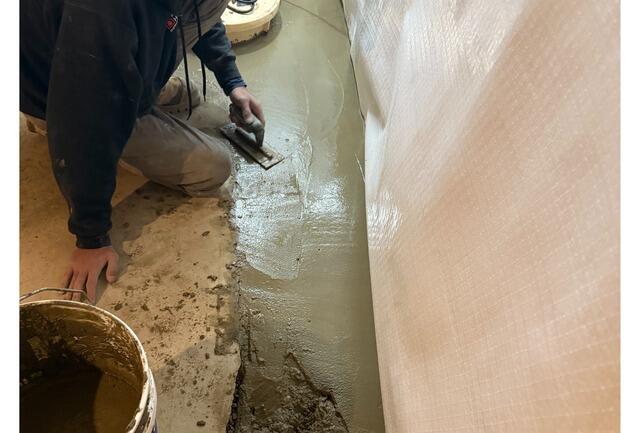
Covering Up WaterGuard
After installing the WaterGuard system, installers cover it with concrete. This makes the drainage system almost invisible!
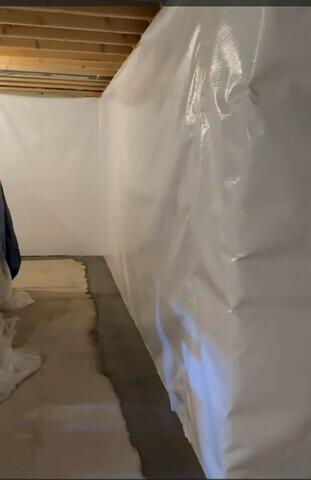
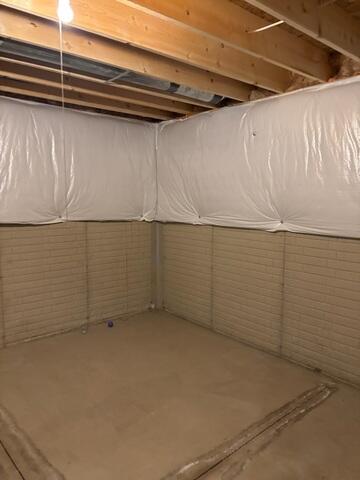
CleanSpace Installed
After WaterGuard was installed, CleanSpace was tightly attached to the walls of the basement. This 20mil thick material is antimicrobial and completely waterproof.
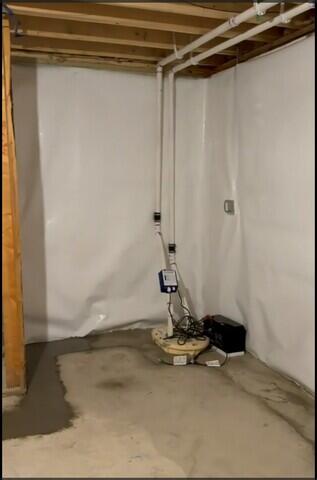
TripleSafe
The TripleSafe sump pump was also installed to create a comprehensive waterproofing system in this basement. TripleSafe has three pumps that work in different situations to pump thousands of gallons of water away from the foundation, even in a power outage!