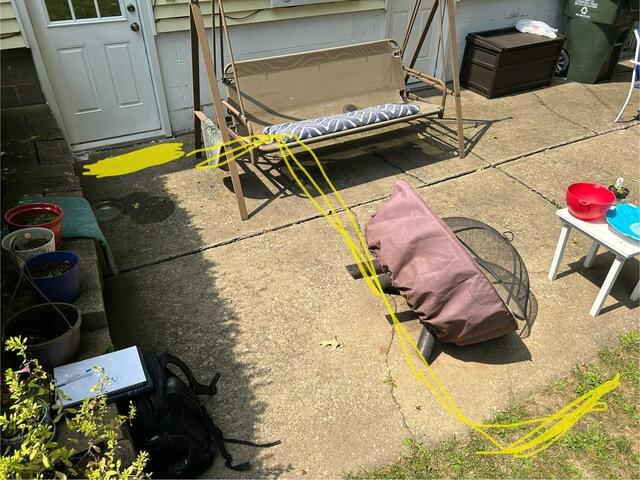
Inspector Notes
During the free in-home estimate, the inspector made sure to indicate in his pictures where the drainage pipes and trench drain should go at the time of install.
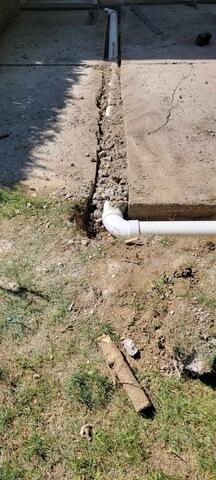
Drainage Pipes Installed
Installers dug a channel for a pipe to carry water away from the foundation of the home.
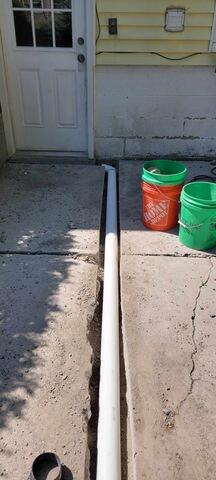
Drainage Pipe and TrenchDrain
The TrenchDrain will catch all water and direct it down the pipe, away from the house.
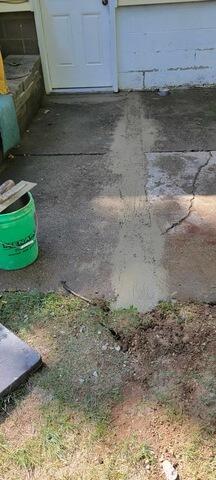
All Patched Up
Installers re-poured concrete to cover up the pipes.
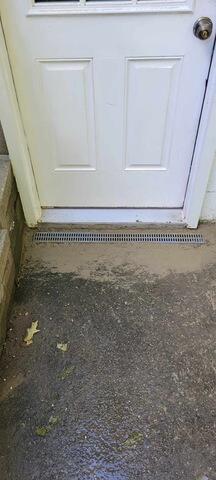
TrenchDrain Installed
Installers put in the trench drain and re-poured concrete around it. Any water will now move through the drain instead of flooding the patio and home.